Securing Fiberglass Troughs to Metal Balcony Railings Safely
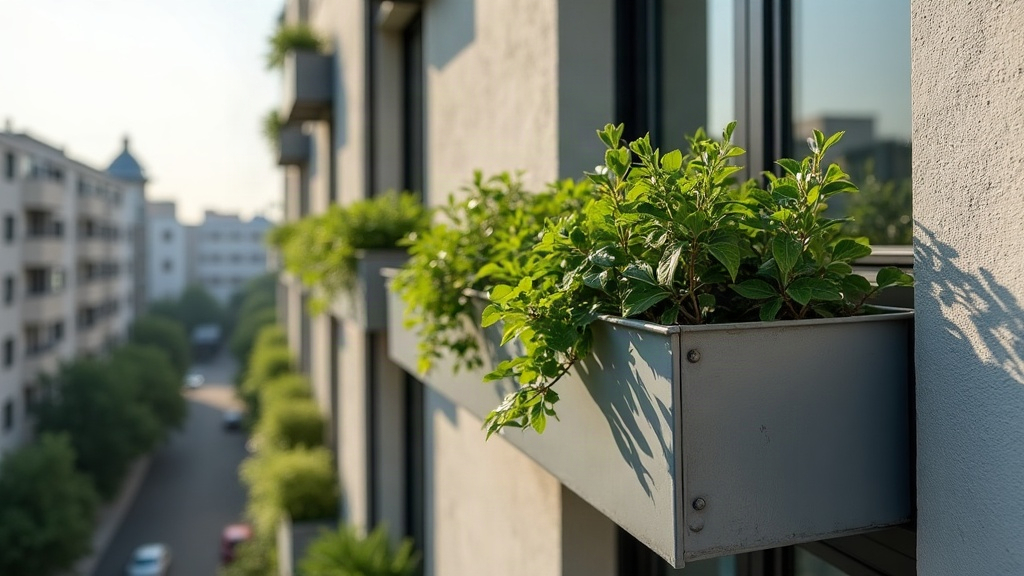
Securing lightweight fiberglass troughs to metal balcony railings doesn’t require drilling into your facade or chewing up your railings. The trick is picking the right bracket system, matching it to whatever railing profile you’ve got, and spreading the weight properly. Below is a rundown of the safest, longest-lasting methods, so your plants stay exactly where you put them through wind, rain, and regular watering, without leaving a single mark on the building.
Why Fiberglass Troughs Need Special Mounting Consideration
Fiberglass troughs show up on balconies everywhere because they’re light, shrug off weather, and won’t crack the way terracotta does after one cold snap. But that lightness cuts both ways. Fill one with moist soil and it can easily hit 20 to 40 lbs, yet the empty shell by itself barely resists a stiff gust or an accidental knock. Pair that with smooth metal railings, which is basically every condo and modern apartment building these days, and you’ve got a genuine slipping hazard if the hardware wasn’t picked with some care.
Unlike wood rails or old wrought-iron, metal balcony rails tend to fall into one of these camps:
- Powder-coated aluminum (slick surface, scratches if you look at it wrong)
- Tubular steel (round profile, awkward to clamp onto)
- Glass-panel systems with a thin metal top rail (barely any surface to grip)
Each one calls for a slightly different bracket strategy.
Step 1: Choose No-Drill, Clamp-Style Brackets
The safest route is to never touch the building’s structure at all and work only with the railing surface itself.
- Adjustable over-the-rail brackets: these hook over the top rail and use a tightening screw or thumb-wheel to clamp the trough in place. Look for ones with a rubber or silicone-lined clamp face so you don’t chew through the powder coating.
- S-hook and cable systems: for thinner railings, heavy-duty stainless S-hooks paired with a trough that has built-in lip channels do the job nicely, particularly on narrower troughs under 24 inches.
- Tension strap brackets: ratchet-style nylon straps with buckle tensioners spread the pressure evenly, which makes them a good fit for round tubular rails where a rigid clamp tends to slip.
Steer clear of anything that wants you to drill into the railing itself, unless you actually own the property and the railing is rated for it structurally. Drilling can void warranties on shared or HOA-owned railings, and on steel it opens the door to rust.
Step 2: Match Bracket Width to Trough Depth
One mistake people make a lot: sizing brackets for the railing and forgetting about the trough’s depth entirely. For fiberglass troughs deeper than 8 inches, go with brackets that have at least two contact points (a front lip plus base support) instead of a single hook. One hook alone lets the trough tip outward the moment you water it.
- Shallow troughs (under 6”) → a single adjustable hook bracket is usually enough
- Medium troughs (6-10”) → dual-point cradle brackets
- Deep troughs (10”+) → full cradle brackets with a bottom support bar
Step 3: Protect the Railing Finish
Even clamps that skip drilling can scratch powder-coated aluminum over time, just from vibration. A little protection goes a long way:
- Wrap the clamp contact points in felt pads or silicone tape before you install anything
- Pick brackets that are specifically labeled “powder-coat safe” with EPDM rubber linings
- Check and re-tighten every 4-6 weeks. Temperature swings loosen screw-tension brackets more than people expect
Step 4: Weight Distribution and Wind Safety
A fiberglass trough full of wet potting mix shifts its center of gravity outward, and that puts extra strain on the bracket’s grip. A few ways to counter it:
- Position the trough so at least 60% of its base rests on the balcony side of the railing, with the clamp mainly stabilizing the outer edge
- Swap dense garden soil for a lightweight mix (perlite or coco coir blends) to shave 30-40% off the total weight
- In windier spots, run a secondary safety tether, a thin cable looped from the trough’s drainage holes to the railing, as a backup in case a clamp works itself loose
Common Mistakes to Avoid
- Cranking clamps too tight on thin aluminum rails. That’s how you dent or crack the finish
- Skipping drainage checks. Trapped water adds weight you didn’t plan for, and in cold climates it can freeze and expand, putting real stress on the brackets
- Ignoring HOA or condo rules. Plenty of buildings ban railing-mounted planters that face the street, so check the fine print before you install anything
Conclusion
You genuinely don’t need to drill a single hole to hang fiberglass troughs on metal balcony railings. Pick padded, adjustable clamp brackets sized to your trough’s depth, protect the railing finish, and manage the weight with a lighter soil mix, and you end up with a setup that’s secure, facade-friendly, and holds up through season after season of wind and watering. No property damage, no arguments with the landlord.