Preventing Soil Compaction in Galvanized Steel Planters
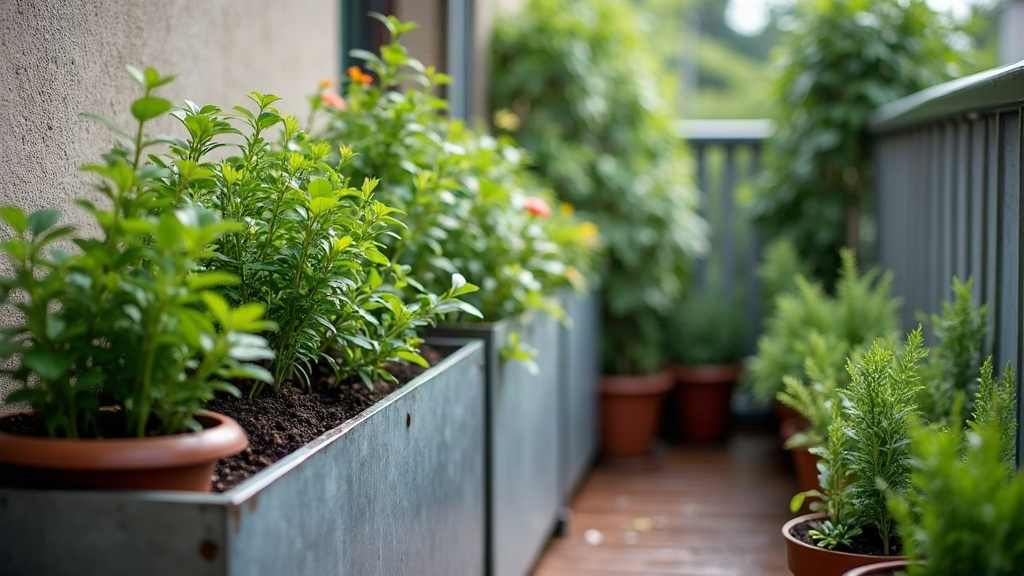
Narrow galvanized steel planters show up everywhere these days, balconies, patios, tight city courtyards, and it’s easy to see why. They look sharp, they last for years, and they fit where a bulky terracotta pot never could. But that slim profile comes with a real downside: after a hard rain, the soil inside can compact badly. Water floods into a tight column with nowhere to go, the particles squeeze together, and roots end up gasping for oxygen and water alike. Here’s why that happens, and what actually stops it.
Why Narrow Planters Compact So Easily
A wide garden bed spreads rainfall across a big surface, so the pressure gets distributed. A narrow planter does the opposite: it funnels the same amount of water into a tiny soil volume. A few things compound the problem.
- Limited surface area. Water can’t spread out and soak in evenly. It just pools and pushes straight down, like filling a tall skinny glass instead of a wide bowl.
- Steel walls don’t breathe. Terracotta and wood let some moisture wick through the sides. Galvanized metal doesn’t give an inch, so the only way out is through the drainage holes at the bottom, if they’re big enough.
- Vertical soil columns. The weight of saturated soil at the top presses down on everything below, squeezing out air pockets before the excess water has a chance to drain.
- Fine potting mixes. Decorative planters usually come with soft, fine-textured soil. Great for looks, bad for structure. Once soaked, it clumps and collapses, losing the air gaps roots depend on.
Put those together and you get a dense, almost brick-like soil mass. It resists roots, drains poorly even days after the storm, and leaves plants starved of oxygen right at the roots.
Signs Your Planter Soil Has Compacted
- Water sits on top for 10 to 15 minutes or longer after rain instead of soaking in.
- Soil has pulled away from the inner walls, leaving a visible gap you can slide a finger into.
- Plants look wilted even though the soil feels wet (classic oxygen-starved roots, not a watering problem).
- Press a finger into the surface and it feels hard or crusted, almost like dried clay.
How to Prevent Compaction Before It Starts
1. Upgrade Your Drainage Layer
Add a 2 to 3 inch layer of coarse material (lava rock, expanded clay pebbles, broken terracotta shards) at the base. This keeps water moving down and out instead of backing up and crushing the soil above it. Think of it as a relief valve for the whole column.
2. Choose a Chunky, Well-Aerated Soil Mix
Skip the dense, moisture-hoarding potting soil that comes standard in most bags. In a narrow container it’s almost guaranteed to compact. Instead, mix your own:
- 40% quality potting mix
- 30% perlite or pumice
- 20% coarse compost
- 10% coconut coir (for moisture balance without adding density)
The perlite and pumice are doing the real work here. They’re inorganic, so they hold their shape even soaking wet, which keeps the whole mix from collapsing in on itself.
3. Add or Widen Drainage Holes
A lot of decorative galvanized planters ship with maybe two or three small holes, barely enough for a light drizzle, let alone a downpour. Drill extra ¼ to ½ inch holes across the base. Then lift the planter off the ground slightly with pot feet or even a couple of bricks, so water has somewhere to actually go instead of pooling underneath.
4. Install a Root/Water Channel
For anything taller than about 18 inches, run a perforated PVC pipe vertically through the center before you fill it with soil. It sounds like overkill until you’ve seen what a heavy storm does to a tall narrow pot without one. That pipe gives water a fast lane down through the column, relieving pressure at depth and cutting compaction dramatically.
5. Mulch the Surface
A 1 inch layer of bark mulch or straw on top absorbs the first impact of heavy rain. Instead of water pounding the surface and sealing it shut (which is exactly how crusting starts), the mulch slows everything down so the soil can soak it in gradually.
Fixing Compaction After It Happens
Already dealing with a compacted planter? Here’s the fix, roughly in order of how aggressive it is.
- Aerate carefully. Use a narrow hand fork or even a chopstick, working in vertical pokes rather than stirring around, so you don’t shred the roots.
- Top-dress with compost and perlite. This reintroduces air pockets near the surface without the hassle of a full repot.
- Check the drainage holes. Fine soil particles settle and clog them over time. A thin wire or an old skewer clears them out fast.
- For bad cases, go deeper. Remove the top 3 to 4 inches of soil, loosen what’s underneath with your hand fork, then refill with the aerated mix from section 2 above.
Long-Term Maintenance Tips
- Water deeply but less often. This trains roots to grow downward and cuts down on surface crusting over time.
- Check the soil structure every spring. If it feels dense or crusty, replace the top few inches before the growing season kicks in.
- During the rainy stretch of the year, a removable cover or just sliding planters under an eave for a few days can save you a lot of repair work later.
Conclusion
Compaction in narrow galvanized planters isn’t bad luck, it’s just physics: tight columns, non-porous walls, and heavy rain add up predictably. The good news is it’s just as predictable to prevent. Get the drainage layer right, mix your own aerated soil, drill enough holes, and do a quick check every spring, and these planters will shrug off downpours instead of choking under them. A bit of setup now beats hours of digging out compacted soil later, and your plants will thank you every time it storms.