Rust Fungus on Potted Garlic Chives: Diagnosis & Treatment Guide
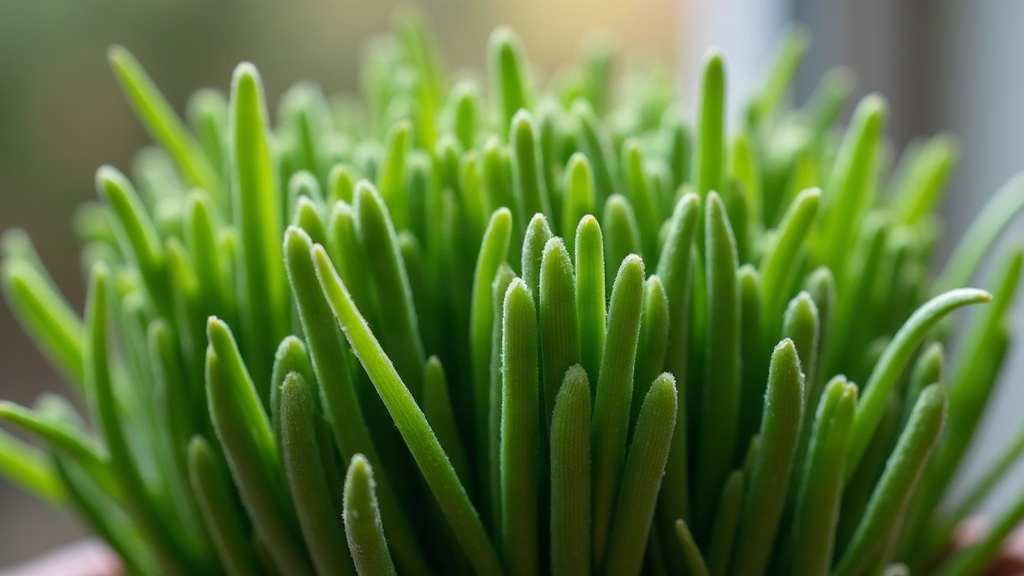
If your potted garlic chives have broken out in orange, powdery pustules this spring, chances are you’re looking at rust fungus. It’s one of the more common diseases to hit container herbs, especially in damp, poorly ventilated spots, and the good news is: it’s manageable. Catch it early and your plant will likely pull through fine. Ignore it for a few weeks, though, and you’ll see weaker growth, smaller harvests, and possibly a spread to any onions, leeks, or garlic growing nearby.
What Rust Fungus Looks Like on Garlic Chives
Once you know the signs, rust (caused by Puccinia species) is almost impossible to miss:
- Small orange-yellow blisters (pustules) on the leaf surface, often lined up in streaks running the length of those flat, grassy leaves.
- Powdery orange dust that comes off on your fingers the moment you touch an infected leaf.
- Yellowing or browning tips as the infection takes hold.
- Stunted growth, with noticeably fewer shoots than you’d get from a healthy plant.
- Later in the season, the pustules can darken to black (the telia stage), a sign the disease is shifting phases.
Seeing just a couple of spots on the older leaves? That’s actually a decent sign. You’ve caught this early, and early is exactly when treatment works best.
Why Wet Urban Springs Trigger Rust Outbreaks
Rust spores only need one thing to get going: moisture. And balconies, courtyards, and tight city plantings tend to supply plenty of it.
- Poor airflow between buildings lets humidity pool around your pots instead of clearing out.
- Overhead watering or a few days of rain keeps leaves wet for hours at a stretch, and rust spores can germinate in as little as 4-6 hours of leaf wetness.
- Pots crammed together on a windowsill or balcony rail cut off whatever breeze might otherwise help.
- Cool, humid conditions (50-70°F / 10-21°C) are basically rust’s comfort zone.
- Concrete and pavement reflect moisture back at plants, so city microclimates often stay damp longer than an open garden would.
Step-by-Step Treatment Plan
1. Isolate and Prune Immediately
Pull the affected pot away from other alliums and herbs right away. Grab a pair of clean scissors, snip off every leaf showing signs of infection, and bag it up for the trash. Do not toss it on the compost pile. Rust spores survive composting just fine and will come right back to haunt you.
2. Improve Airflow and Watering Habits
- Give pots 6-8 inches of breathing room between them, minimum.
- Water at soil level, using a long-spouted watering can, and keep water off the leaves entirely.
- Water in the morning, not the evening, so any stray splashes dry off during daylight hours.
- Stuck on a covered balcony during a rainy stretch? A small fan on low, pointed across the plants, can make a real difference in keeping air moving.
3. Apply an Organic Fungicide
Since these are edible herbs, keep treatments food-safe:
- Sulfur-based fungicide spray: works well against rust and is safe to eat after the label’s waiting period passes.
- Neem oil solution: 2 teaspoons neem oil, a few drops of dish soap, 1 quart of water. Spray both sides of the leaves, weekly.
- Baking soda spray: 1 tablespoon baking soda, 1 teaspoon horticultural oil, 1 gallon water. Mild, but useful as a preventive for light cases.
Spray in the evening or early morning so you’re not burning the leaves in direct sun, and always apply after you’ve pruned the infected material, not before.
4. Boost Plant Resilience
A stronger plant simply fights off disease better:
- Feed every 3-4 weeks during active growth with a diluted, balanced liquid fertilizer.
- Skip high-nitrogen formulas. They push soft new growth that rust loves.
- Check your drainage. Soggy roots stress the whole plant and weaken its natural defenses.
When to Repot or Start Fresh
If you’re past 60-70% infected foliage even after treatment, don’t keep spraying and hoping. It’s usually faster to just reset:
- Harvest whatever usable, unaffected shoots you’ve got left.
- Cut the plant back hard, down to 1-2 inches above the soil.
- Swap out the top layer of potting mix for something fresh and well-draining.
- Give it 2-3 weeks to push new, clean growth.
Honestly, this hard-reset approach beats weeks of repeated spraying on a badly infected plant almost every time.
Preventing Future Outbreaks
- Look for rust-resistant chive varieties next time you replant.
- Move your pots to a different spot each season so you’re not recreating the same damp microclimate year after year.
- Wipe down pots and tools with a 10% bleach solution before reusing them.
- Walk by and check your plants weekly through spring. Catching rust in its first week is still the best defense there is.
Conclusion
Rust on potted garlic chives is about as classic a wet-spring problem as container gardening gets, usually traced back to trapped humidity, pots crowded too close together, and leaves that just won’t dry out. The fix isn’t complicated: prune the infected leaves fast, fix the airflow and watering routine, hit it with a sulfur or neem spray, and feed the plant properly so it can bounce back. Stay consistent with all that and most chives recover within a few weeks, right back to producing fresh, flavorful harvests for the rest of the season.